
…in this case, Rosa ‘Francis E. Lester’; a beautiful single-flowered rambling rose with clusters of pink tinged white flowers. Like most ramblers, it delivers all of its blooms in one magnificent show of colour, in June. When the flower buds start to form and swell there’s a great sense of expectation. And when the first blooms begin to burst open, like bright stars in a lush green firmament, you know that summer has truly arrived.
 Rosa ‘Francis E. Lester’, late June 2018
Rambling roses epitomise the optimism of early summer, when the winter just passed is finally forgotten, and the one to come is so far from our minds as to seem improbable. For a few weeks in June they re-assure us that life is good, and that summer will last forever.
The flowers begin to fade all too quickly of course. Luckily, that’s when many perennials and annuals are coming towards their best, so it isn’t too difficult to distract attention away from the slightly messy, uninteresting background that the rambler has become. Even then, it does the job of covering a bare wall or a fence with foliage. And all the while, the faded flowers are gradually forming attractive rose hips that will give another, albeit more muted, burst of colour in the autumn.
 The hips are swelling and beginning to colour up – due to the prolonged hot weather, they may well be early this year.
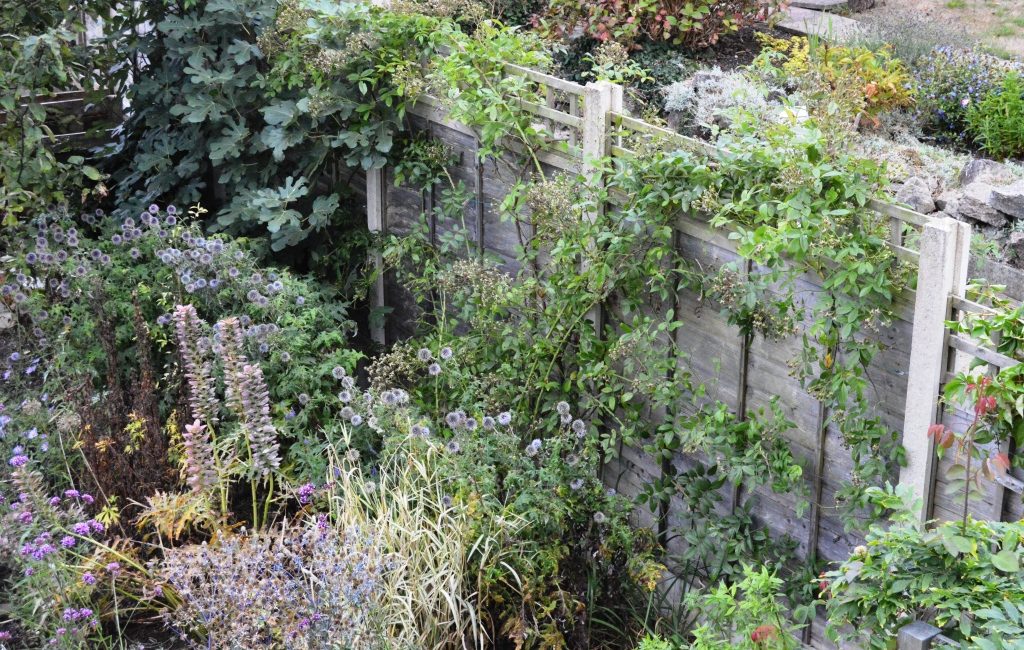
You don’t have to prune rambling roses. If you plant them under a medium to large sized tree they’ll happily clamber all over it and provide a fabulous show every year without your having to touch them. Alternatively, some of the more vigorous varieties are capable of colonising a large section of your garden. As you can see from the photos, this one is busy sending out long shoots in every direction. So now is the time to knock it into shape.

 Francis Lester attempting a ‘land grab’!
The Basic Principle
… is to cut out some of the old shoots, and tie in new ones to replace them.
What you’ll need to do the job
As well as strong garden twine for tying in, you’ll need secateurs, and some heavy duty loppers for cutting through the tough, old wood.
It’s a good idea to make sure your tetanus is up-to-date too. Most ramblers have vicious thorns, and unless you go in there wearing a suit of armour, you’re unlikely to emerge unscathed. Heavy duty gloves are essential – though you’ll need to take them off to tie the twine – and you’ll do well to wear thick clothing.
The Process
The first thing is to identify a few of the older stems to remove. In theory, you could cut out all of the old growth, and in the case of a rambler that’s got out of hand, that’s sometimes the best thing to do; starting afresh with new growth. But it’s the old, flowered stems that will bear the hips, so you need to leave enough of these to provide a good show of hips in the autumn. If you aim to take out a third of the old growth you won’t go too far wrong.
So, having identified the stems you want to take out, trace each in turn back to it’s source. Ideally this will be close to ground level, but for some stems you might cut back to another stem higher up the plant if, for instance, cutting close to the ground would remove more of the framework than you want.
 Cutting an old stem at its source.
 Old wood removed on the first side, ready for the new stems to be tied in.
Once you’ve cut out as much of the old wood as you want, you can start to tie in the new shoots. Hopefully you will have some sort of framework on the fence or wall – in this case, wires stretched horizontally between vine eyes fixed into the fence.
Arrange the new stems horizontally along the wires at different levels, choosing the most appropriately placed stem for each position. Try to avoid crossing stems if possible, and be careful not to force them too much – they can be brittle and may snap, particularly towards the newest growth at the tips. Tie them to the wires using the twine. Tying them down to a horizontal helps encourage the plant to produce side shoots that will have flowers next year.
 Arranging the new stems along the fence and…
 Tying them to the support wires
 The finished job
Though it looks a little sparse now, the plant will soon fill out, and by early summer next year will have produced lots of side shoots bearing a new show of flowers. And so it goes on, in a cycle of yearly renewal that will, with care, continue for the rest of my lifetime, and possibly beyond. If only that fence would last as long…
Words & images © Graham Wright 2018